Placement and commissioning
1
Unboxing and preparation
- Take all items out of the package.
- With USB dongle: screw the antenna onto the USB dongle, then plug the dongle into the gateway. Optional
Without USB dongle (built-in Bluetooth): nothing to mount — go to the next step. - If you have a network cable: plug it into the gateway RJ45 port. A Wi-Fi setup will be done in step 2.
Do not plug in the power supply yet. It connects in step 2.
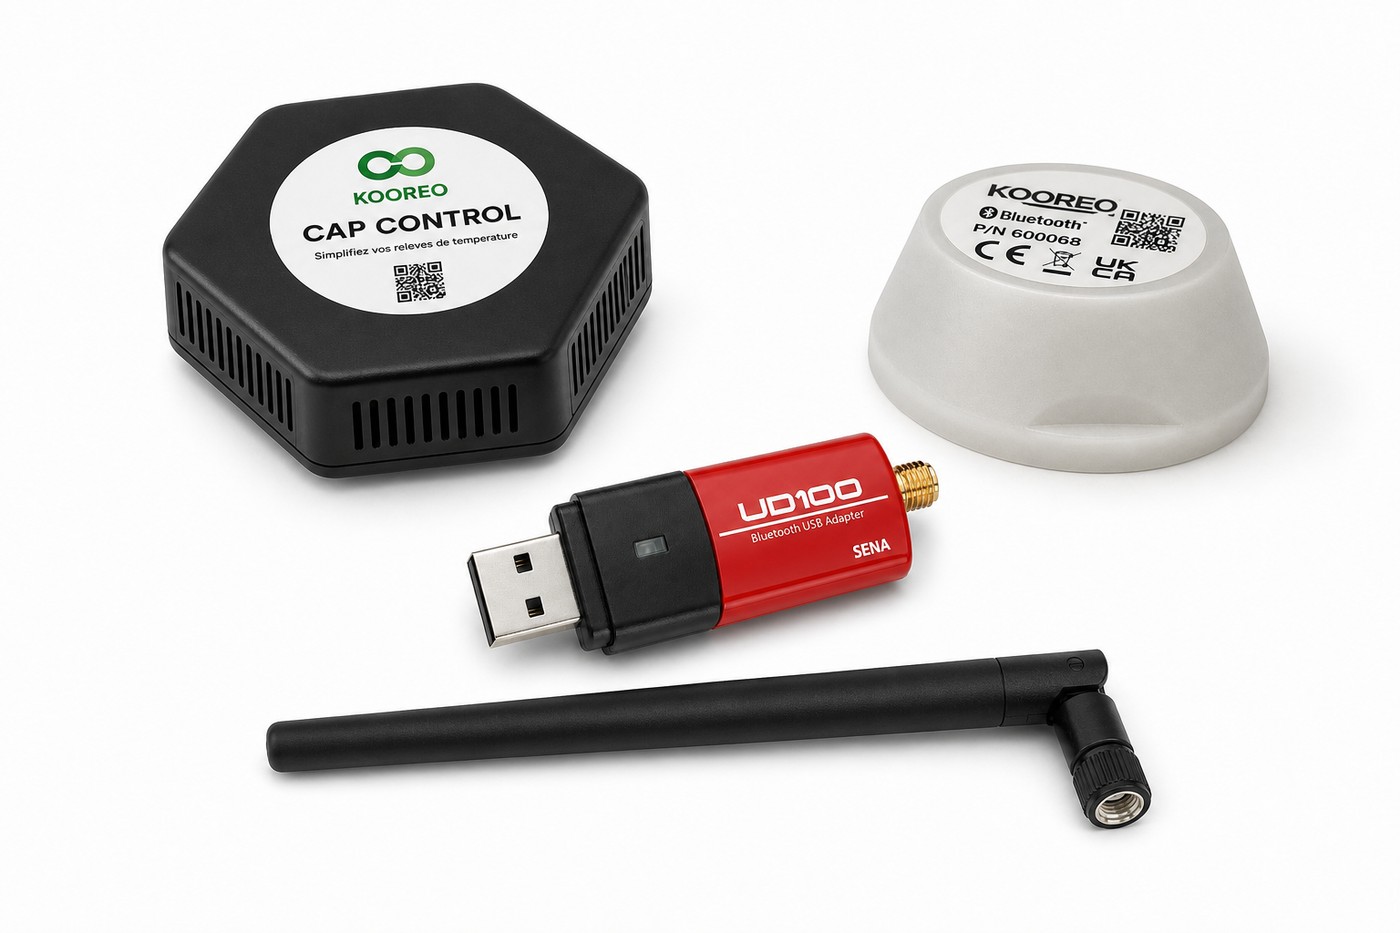
Optional
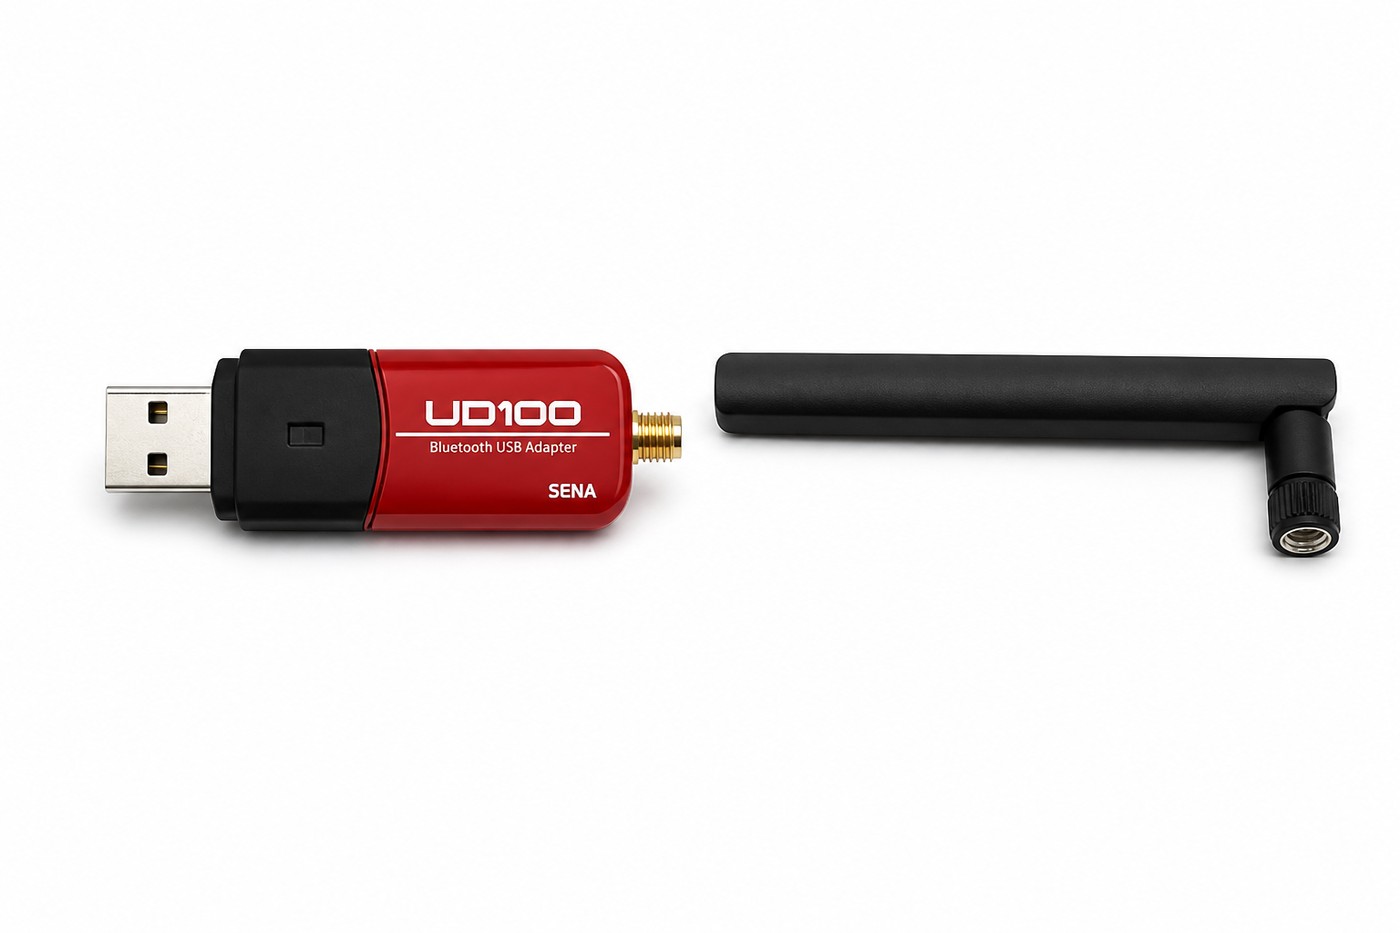
Screw the antenna onto the USB dongle
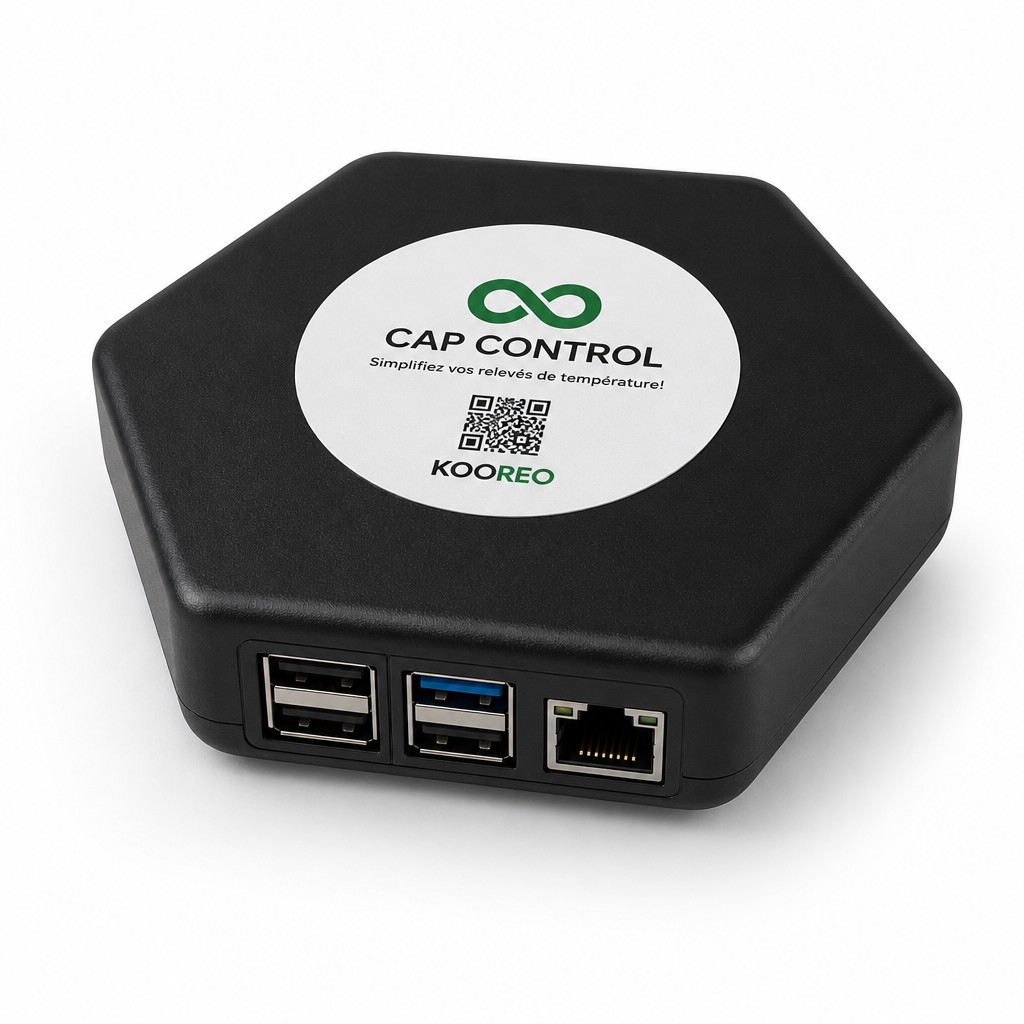
USB and RJ45 ports on the gateway
2
Plug in, power on and connect
1
Plug in. Plug in the gateway power supply.
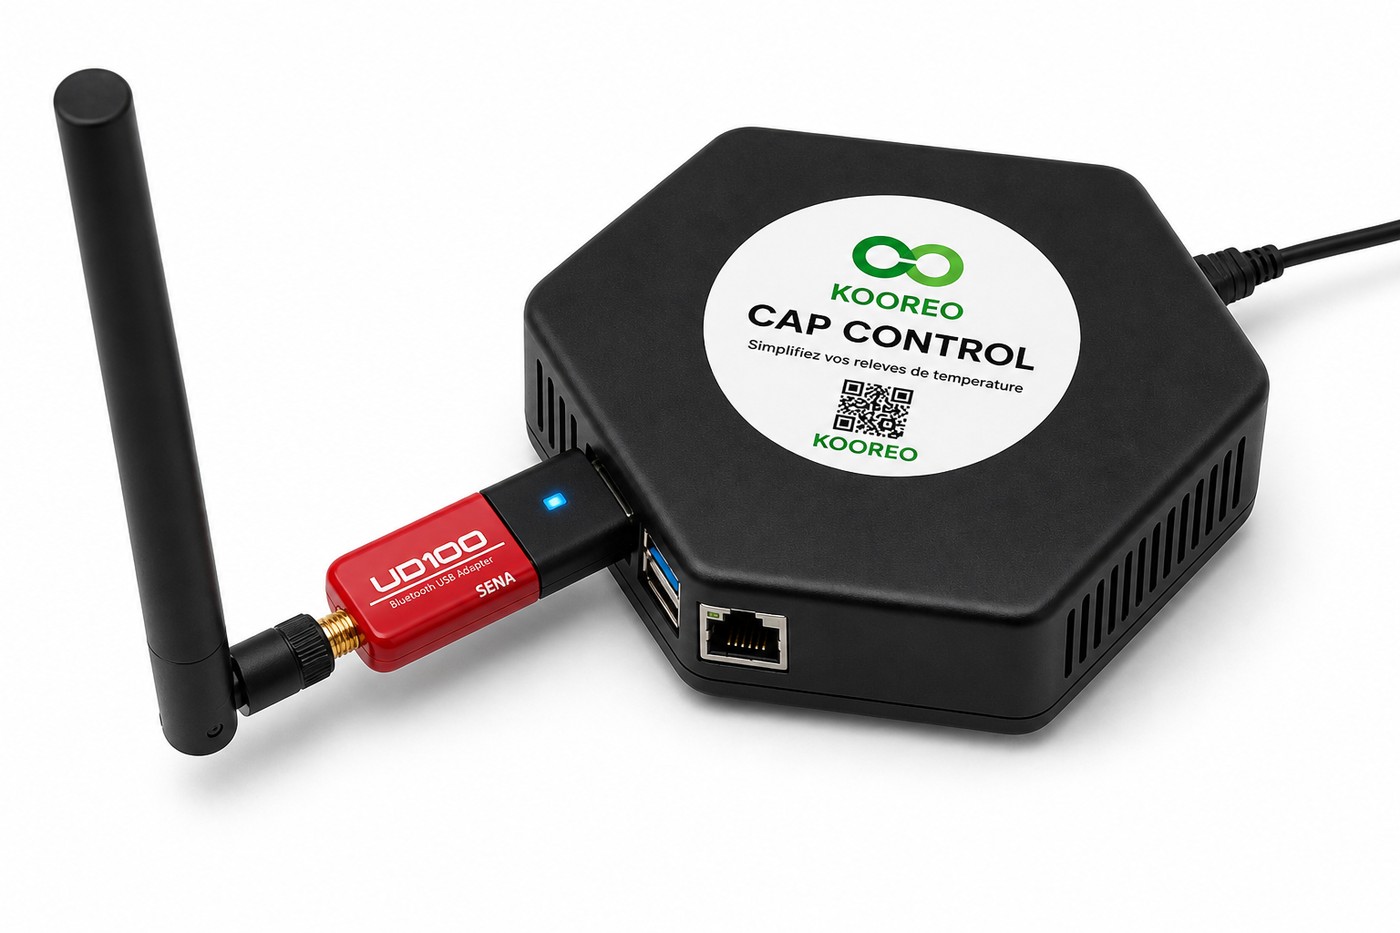
2
Power on. Leave the gateway powered for about 30 seconds.
- With USB dongle: a blue indicator on the antenna confirms Bluetooth is active.
- Without USB dongle (built-in Bluetooth) Optional: no indicator on the gateway — this is normal. Continue with the connection below.
Startup issue?
- With USB dongle Optional: no blue light on the antenna? Check that the dongle is fully inserted and the antenna is screwed in tight.
- Unplug and replug the power supply, wait 30 seconds.
- Still nothing: contact support, details at the bottom of this page.
Network connection
3
Ethernet cable already plugged in at step 1: the gateway connects automatically. A Wi-Fi setup is done with KOOREO Connect.
- Download the KOOREO Connect app.
- Open KOOREO Connect and tap Start.
- Start scan, pick the box, then Connect.
- Choose the Wi-Fi network, enter the password, then Connect.
3
Temporary placement
- Place each sensor in its unit (self-service display case, refrigerated cabinet, cold room, etc.).
- Write down the reference on the sensor sticker: it starts with P T EN or P RHT, followed by several digits. Each sensor has a unique reference: you will need it to match the right sensor during setup.
- Leave the protective film in place.
- Do not stick them yet: you will finish each sensor in step 5, once the signal is validated.
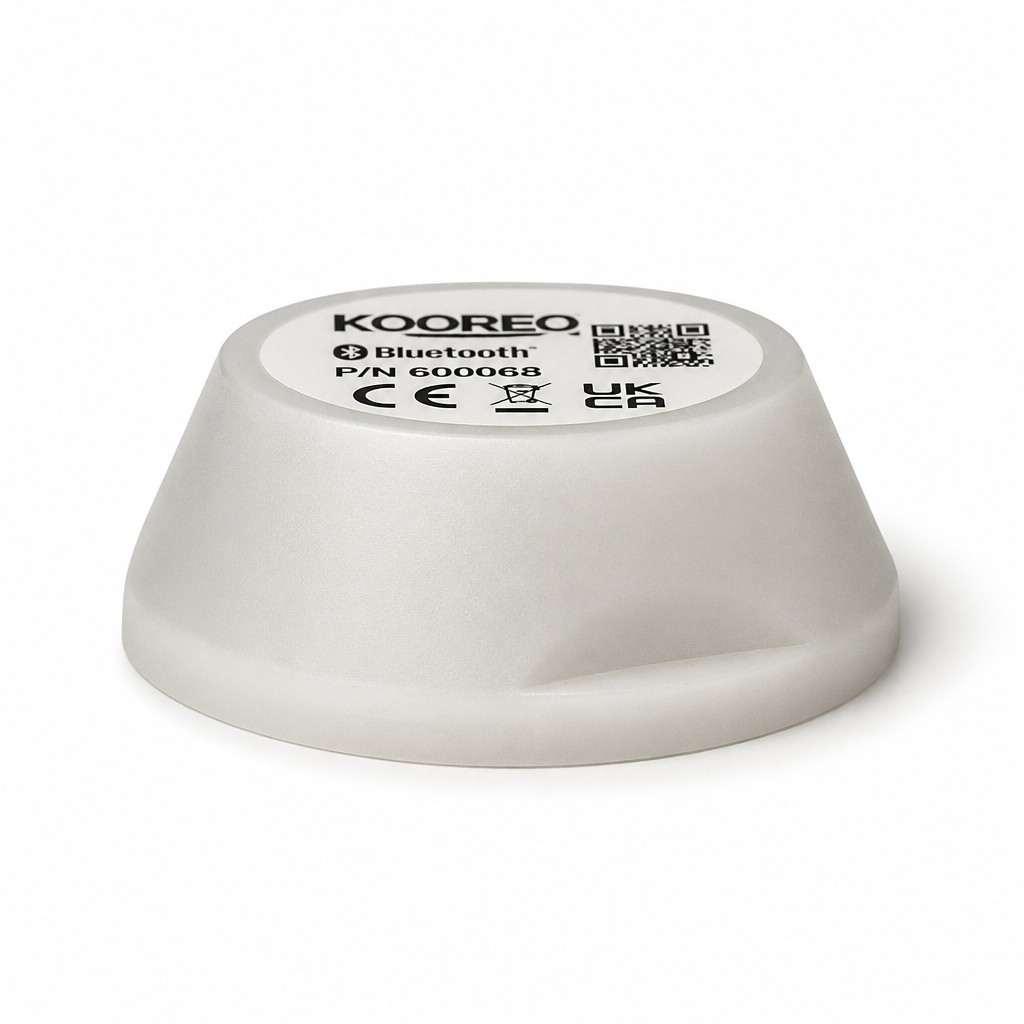
4
Signal check
- Open Cap Control Mobile or Cap Control Web.
- Check that all your sensors appear.
- For each sensor, check temperature, signal and last reading.
- Weak signal? Move the gateway or the sensor, then check again.
- All good? Move to step 5 to stick that sensor, then the next.
5
Final mounting
For each sensor with a validated signal in step 4, mount it, then move on to the next.
1
Remove the protective film and stick the sensor in its final location.
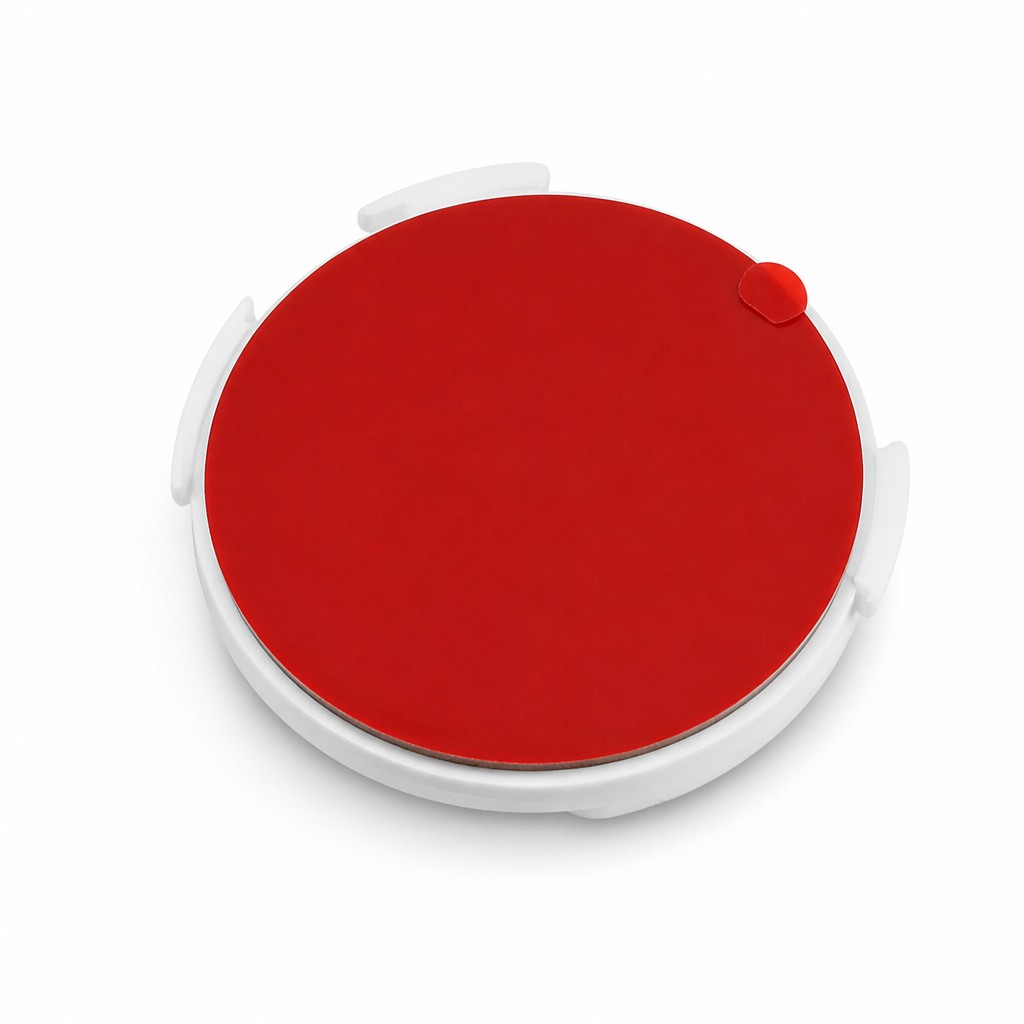
Protective film
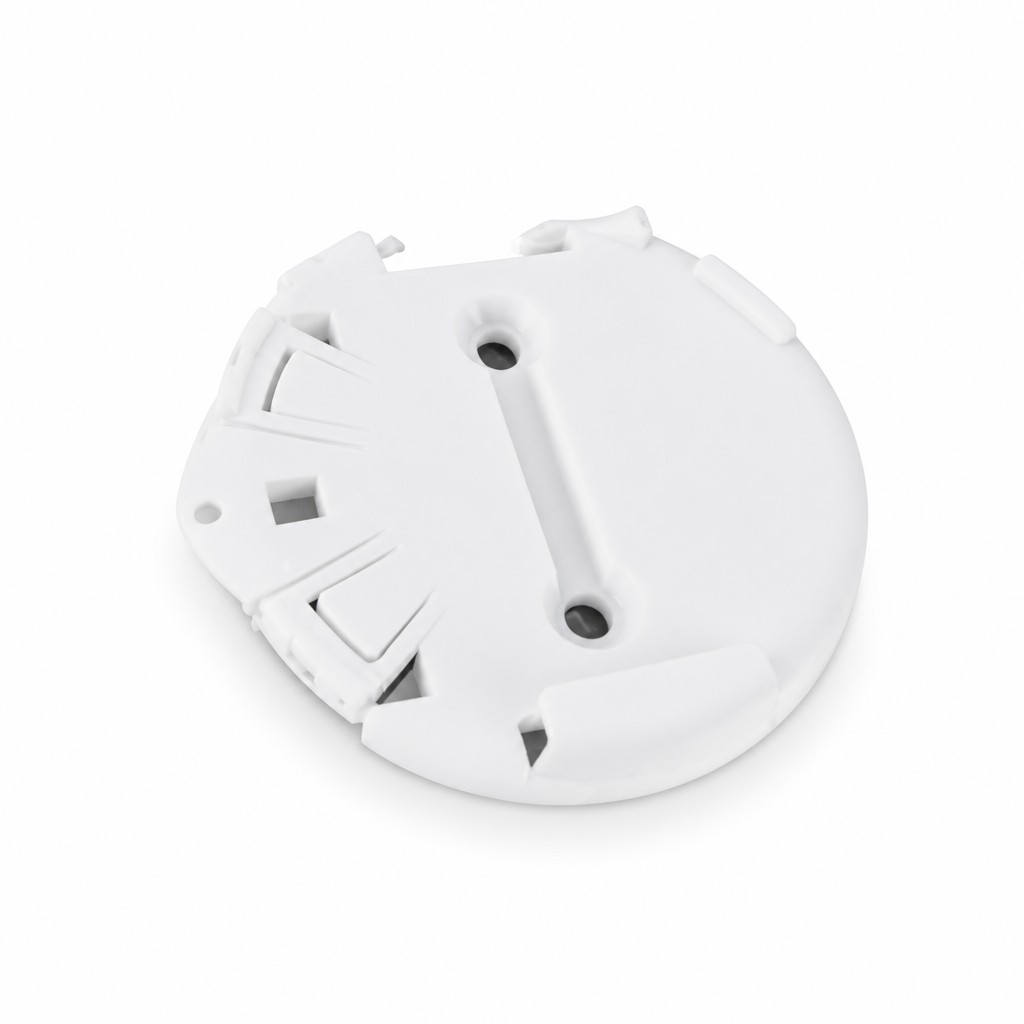
Mounting base